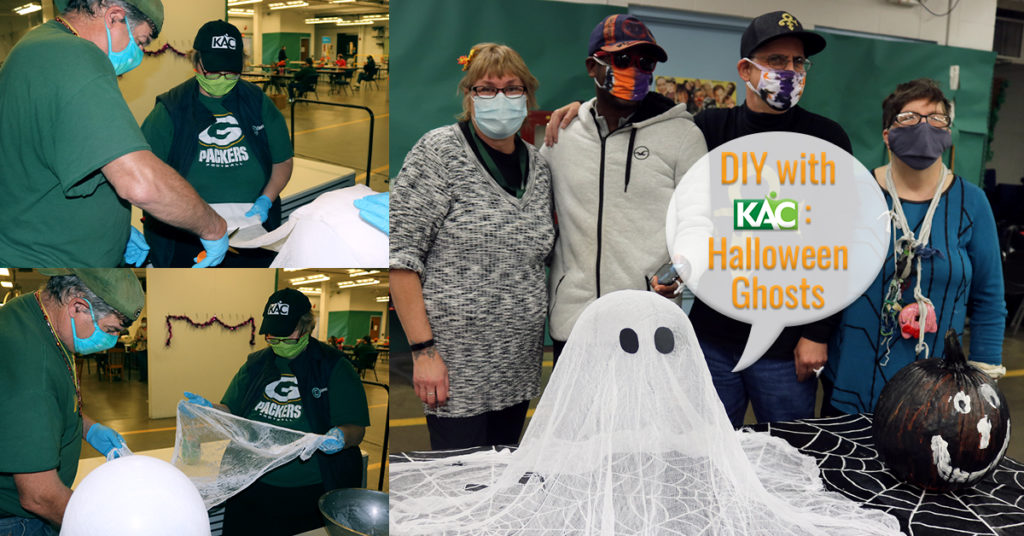
DIY with KAC: Halloween Ghosts
Boo! Did we scare you? Our Adult Services program participants worked together to haunt the halls at Kenosha Achievement Center this Halloween. You can turn your Halloween décor from boring to BOO-ring with a similar fright of DIY Halloween Ghosts. Follow the DIY with KAC tutorial below to create this season’s most frightening homemade decorations.
Materials:
- Newspaper
- One Balloon
- One Tall Glass
- Scotch Tape
- Scissors
- One 2-quart Bowl
- Cheesecloth
- ½ cup Fabric Stiffener or Liquid Starch
- Sewing Needle
- Hot Glue, Googly Eyes, Black Cardstock Paper and Markers (optional)
- Rubber Gloves (optional)
The quantities listed above are sufficient to make one Halloween Ghost at a time. If you would like to create multiple, just plan for additional balloons, tall glasses and fabric stiffener.
Directions:
- Gather the materials listed above and set up a crafting station, which will help prevent unnecessary mess. We recommend using old newspapers to catch any excess fabric stiffener.
- Blow up a balloon, knot it closed and balance it on the opening of a tall glass. Lightly tape the balloon to the glass to secure it.
- Open the cheesecloth up all the way, removing any creases or folds.
- Cut the cheesecloth to size. For best shape, lay the cheesecloth over the balloon. Cut to where there’s at least 12-18 inches of excess fabric pooling all around the balloon.
- If desired, put on rubber gloves. Pour the first ¼ cup of fabric stiffener into a 2-quart bowl. Push the cheesecloth down into the bowl.
- Drizzle the remaining ¼ cup of fabric stiffener on top of the cheesecloth.
- Turn and squish the cheesecloth into the fabric stiffener until the whole piece is 100 percent covered. If more fabric stiffener is needed, drizzle more on top until it is thoroughly saturated.
- One the cloth is covered, squeeze out any excess fabric stiffener back into the bowl.
- Next, open the cheesecloth up all the way and again, remove any creases or folds.
- Center the cheesecloth over the balloon, draping it across.
- Adjust the excess cheesecloth to the shape you want the finished ghost to dry. That’s how it will appear when it “floats.”
- To create a more free-flowing effect, saturate additional pieces of cheesecloth and layer them to your liking.
- Leave the Halloween Ghost to dry overnight. Once dry, use a needle to pop the balloon. Gently pry the ghost up.
- Grab a set of two googly eyes, or create your own using cardstock and markers, and hot glue onto your ghost.
- Finished? Place your Halloween Ghost in the area where it will create the biggest scare.
Beware! These ghosts might just float off on their own. Enjoy the hauntings while you can see them because once Halloween is over, their spirits will surely move on. Or in other words, please note that the fabric stiffener will start to droop after an extended period of time. Your Halloween Ghosts are not intended as long-term décor.
Did you make your own DIY Halloween decorations? Tell us in the comments below or show us on Facebook!


0 CommentsLeave a Comment